Physical Address
304 North Cardinal St.
Dorchester Center, MA 02124
Physical Address
304 North Cardinal St.
Dorchester Center, MA 02124


You’ve probably come across the term ‘vibe coding’ and noticed people vibe coding their way to build a full app without writing a single code. If you’re reading this, I would assume you also want to achieve the same.
Claude Code is a great option for vibe coding. In fact, I personally no longer use the term ‘vibe coding’ and prefer to say I am a ‘Claude Coder’. Claude Code is such as powerful tool and once you get the hang of it, it will give you the superpower to build that app idea you’ve had in mind for ages.
So where and how do we start? This article will take you through step-by-step on how to setup Claude Code on your computer so you’ll be ready to start Claude Coding 🚀
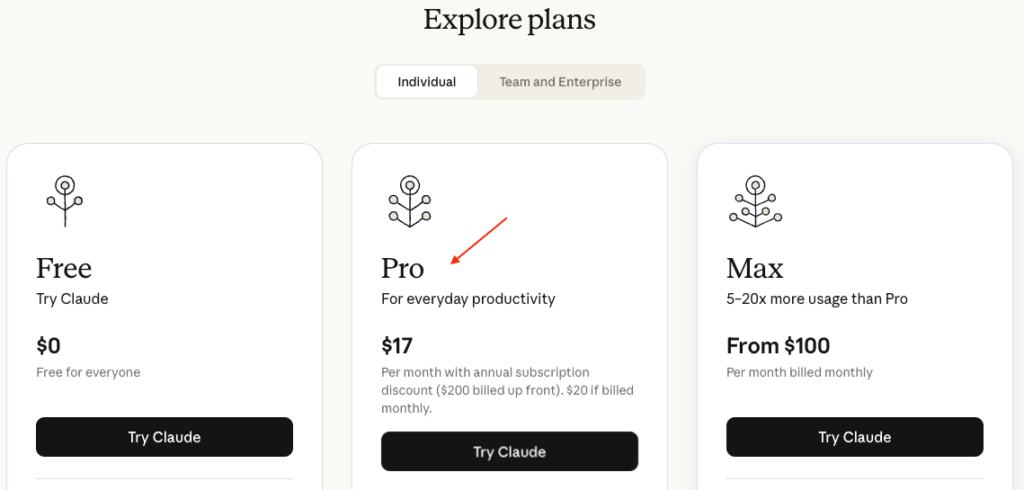
If you don’t already have a Claude account, go to claude.com and setup your account.
I suggest getting a Pro plan to get started. Claude Code takes up significant amount of tokens and Free plan won’t last you long enough.

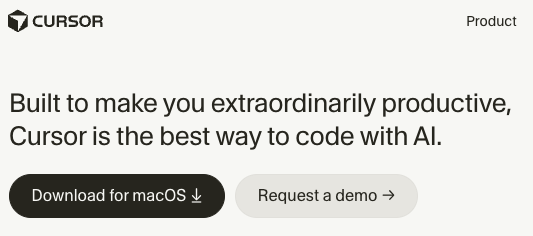
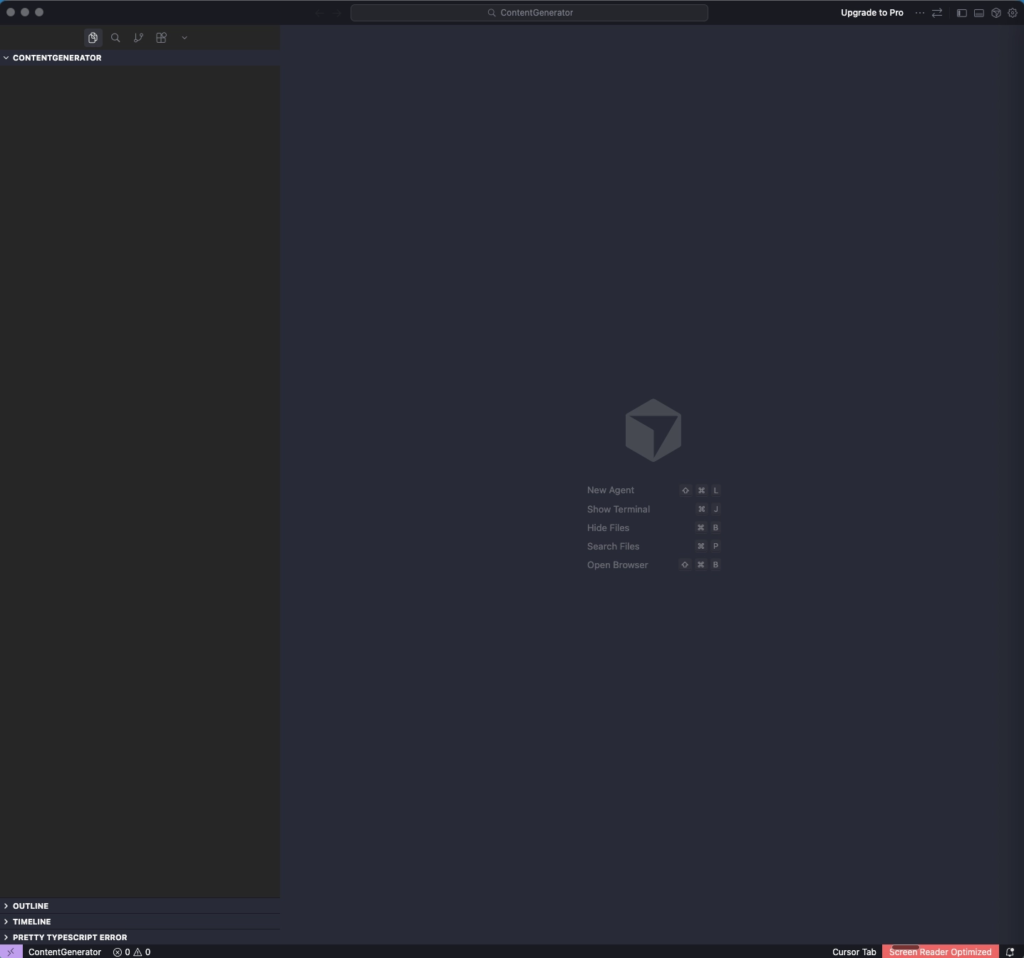
An Integrated Development Environment (IDE) is required to run Claude Code. There are multiple IDE options to choose from and I am using my favourite which is Cursor.
Go to cursor.com and download the application on your computer.
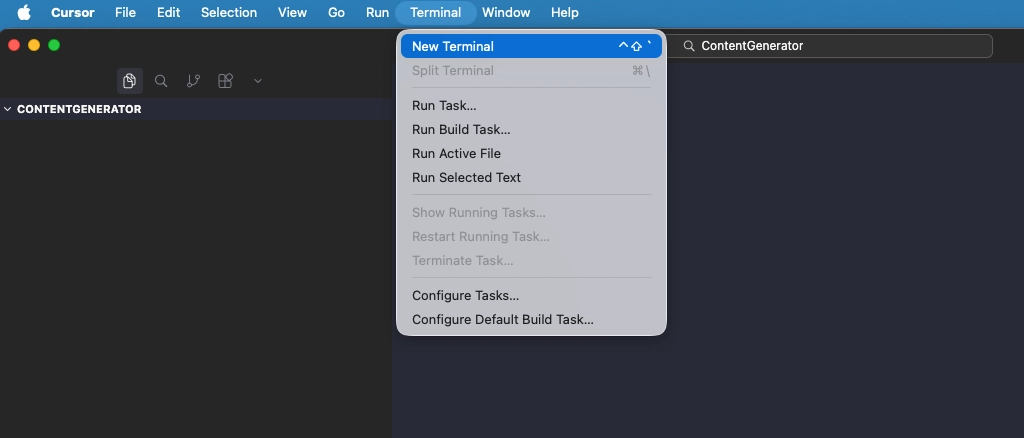

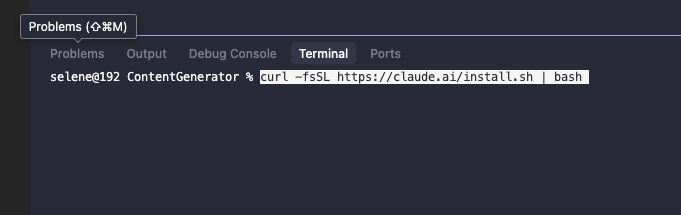

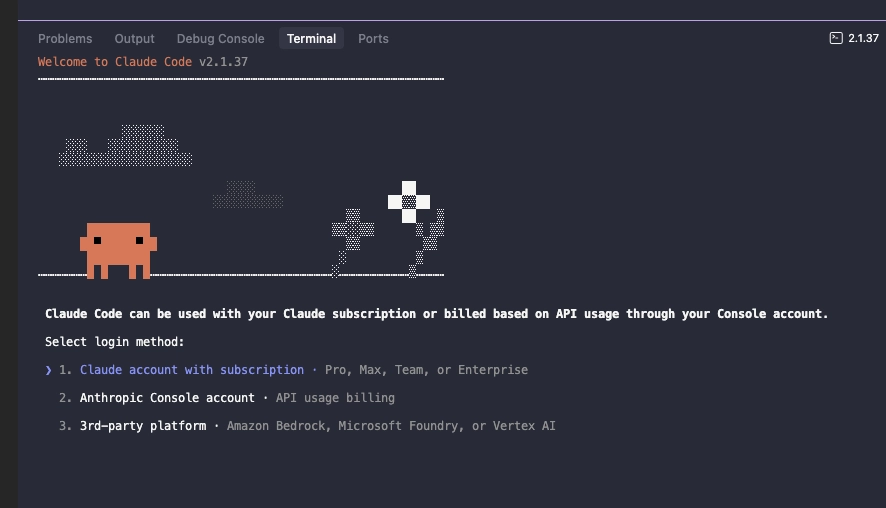
claude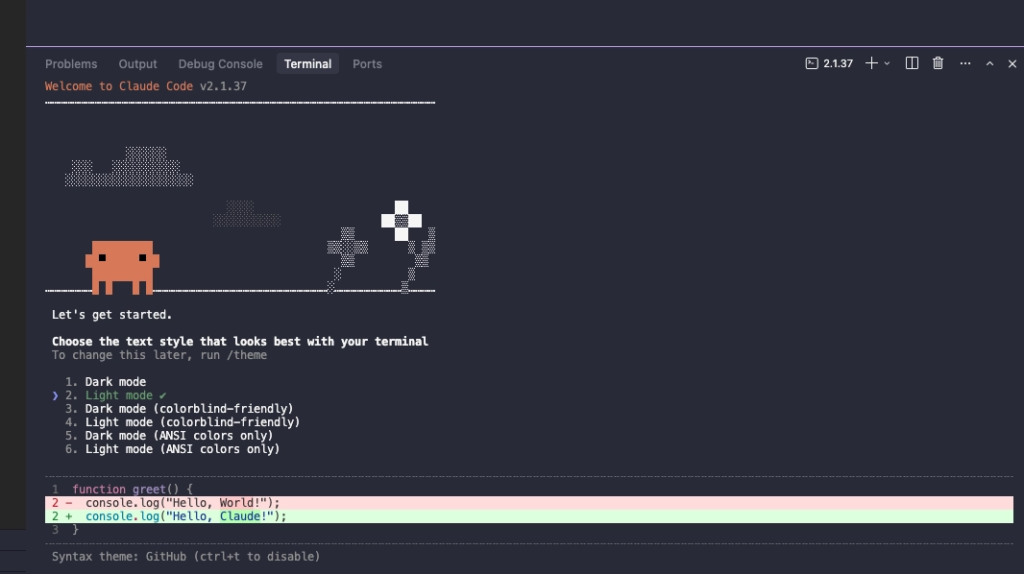
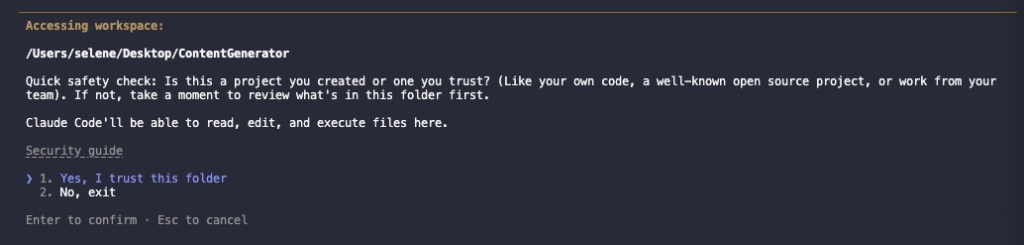
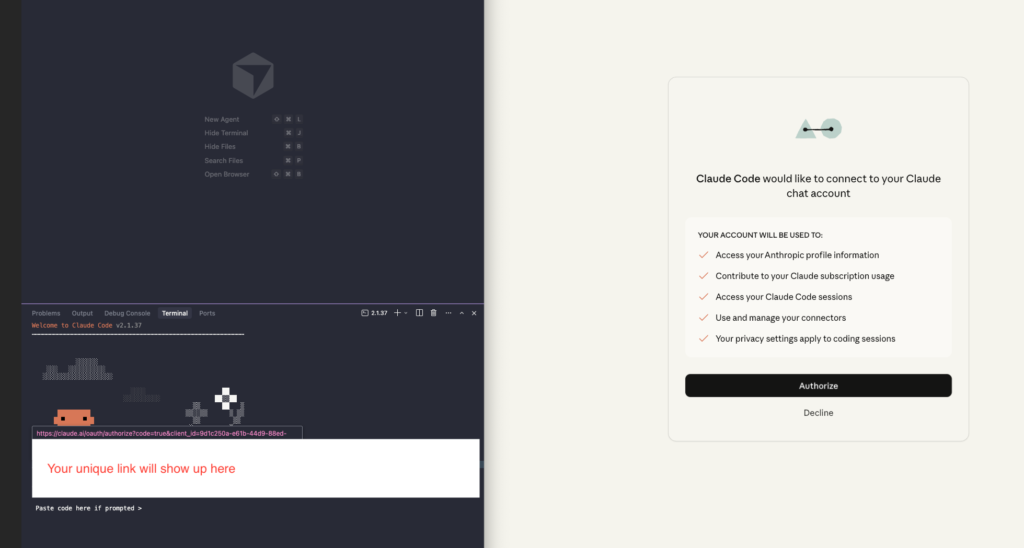
I suggest using login method #1 at all times.
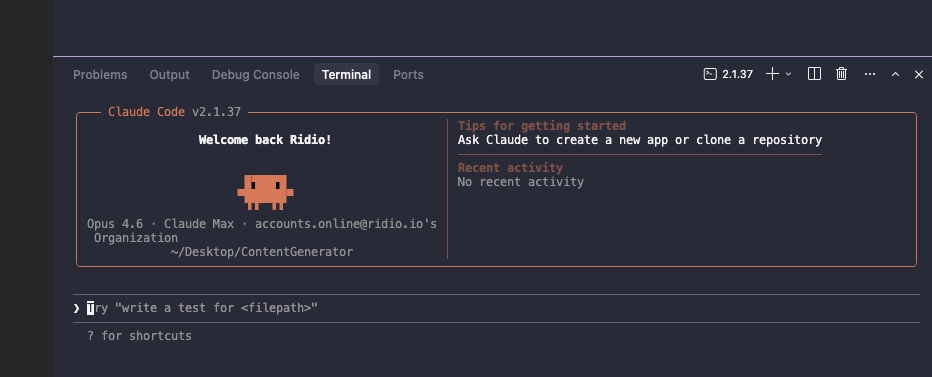
Type into Claude Code
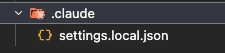
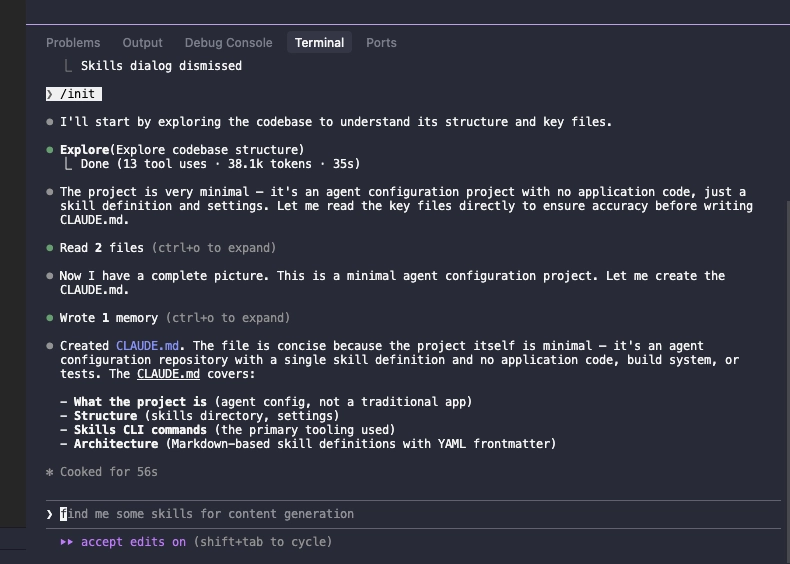
/initThis will create a .claude folder with a configuration file about this project. It will have all the settings for Claude.
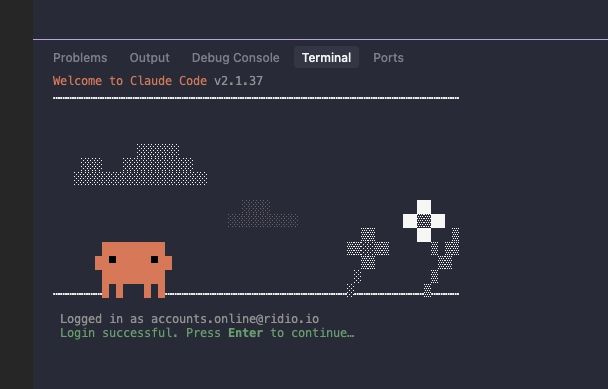
We looked at how to set up Claude Code on IDE and launch Claude Code on our terminal. Now we are completely set up and ready to go!
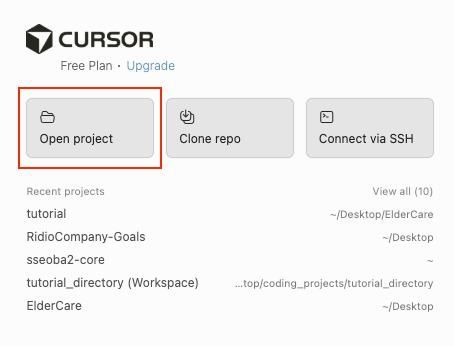
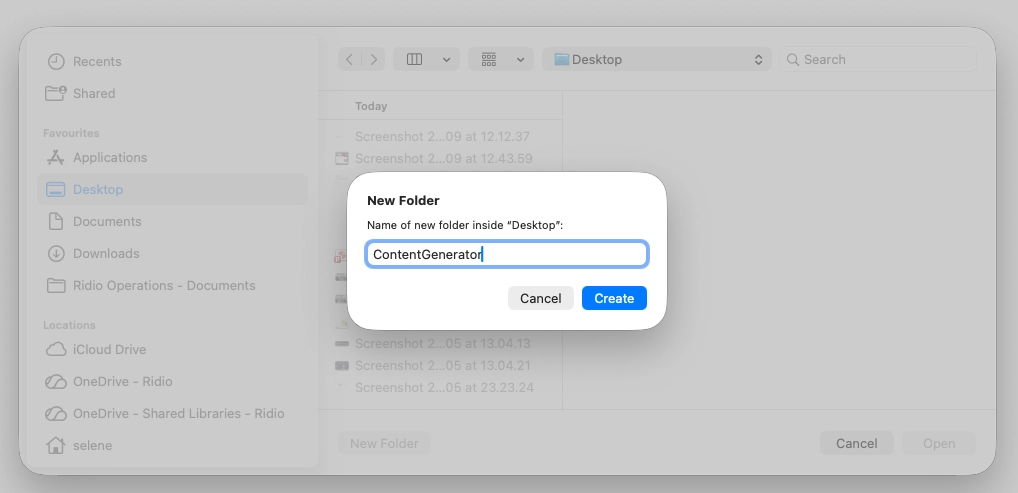
Just remember, you only have to login and setup Claude Code once. Also, when you’re working on a new project, always create a new folder.
Follow my socials for more AI stuff 😛